As always seems to happen, The Midwest Gaming Classic has come and gone in record time, but what a time it was! Every year this show get’s bigger and bigger as does the number of modders and projects in the Bit Built Console Makerspace Room, which I believe we just about maxed out this year and was incredible!
That said, this year was particularly special for me though as after nearly a year in the works, I’ve finally been able to reveal one of my most ambitious projects yet!
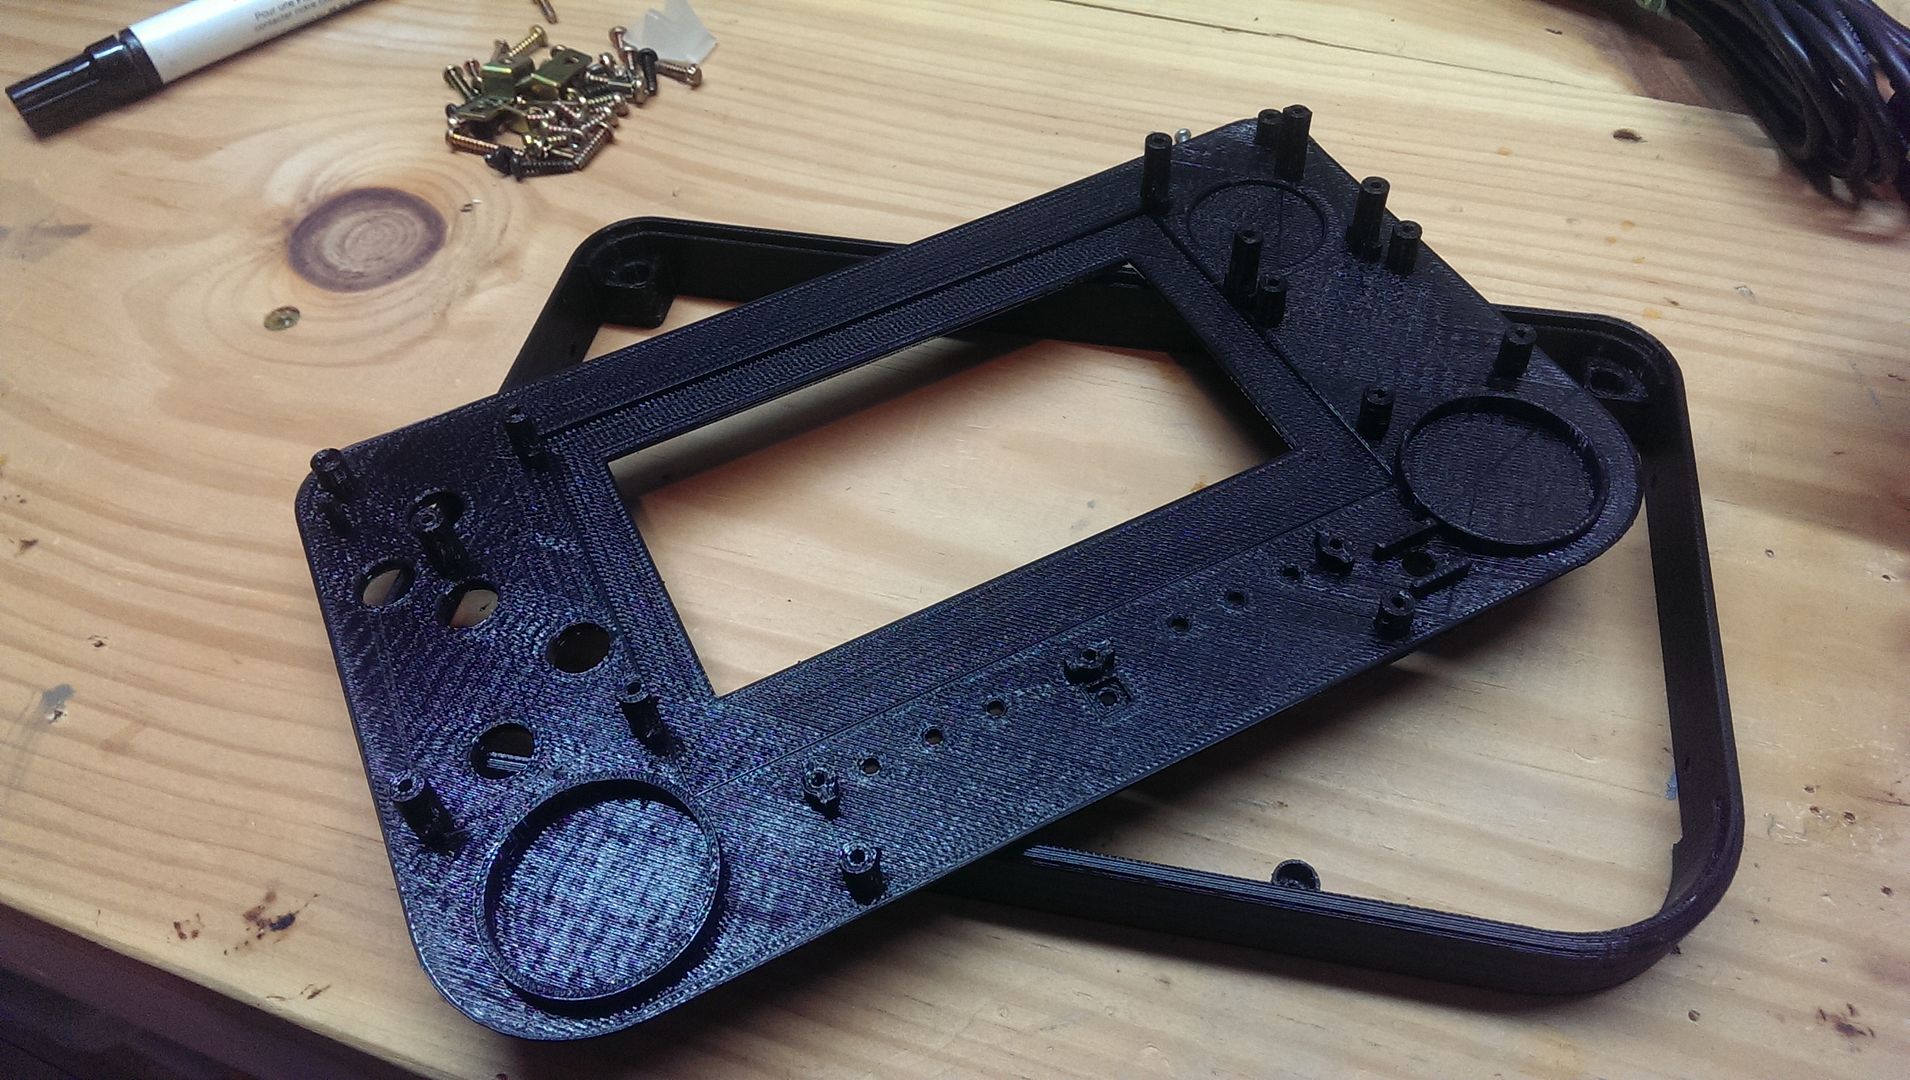
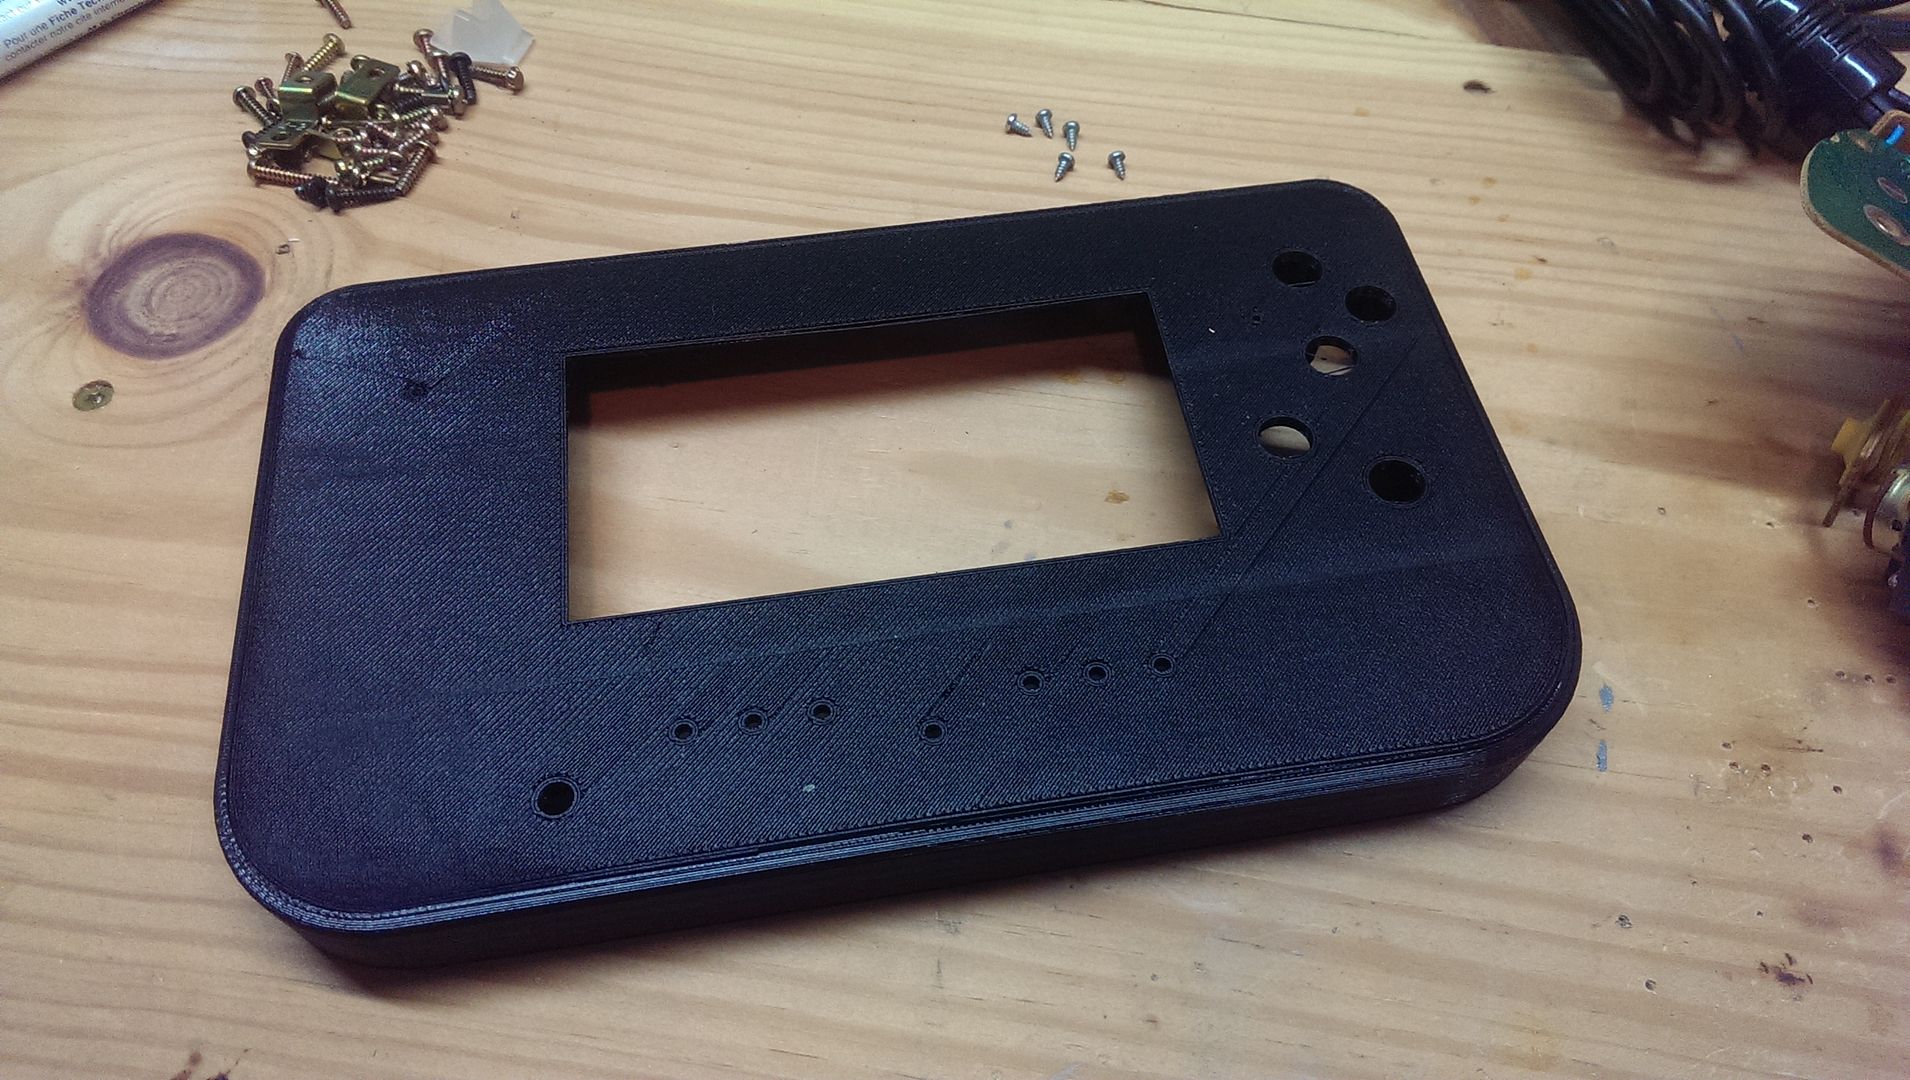
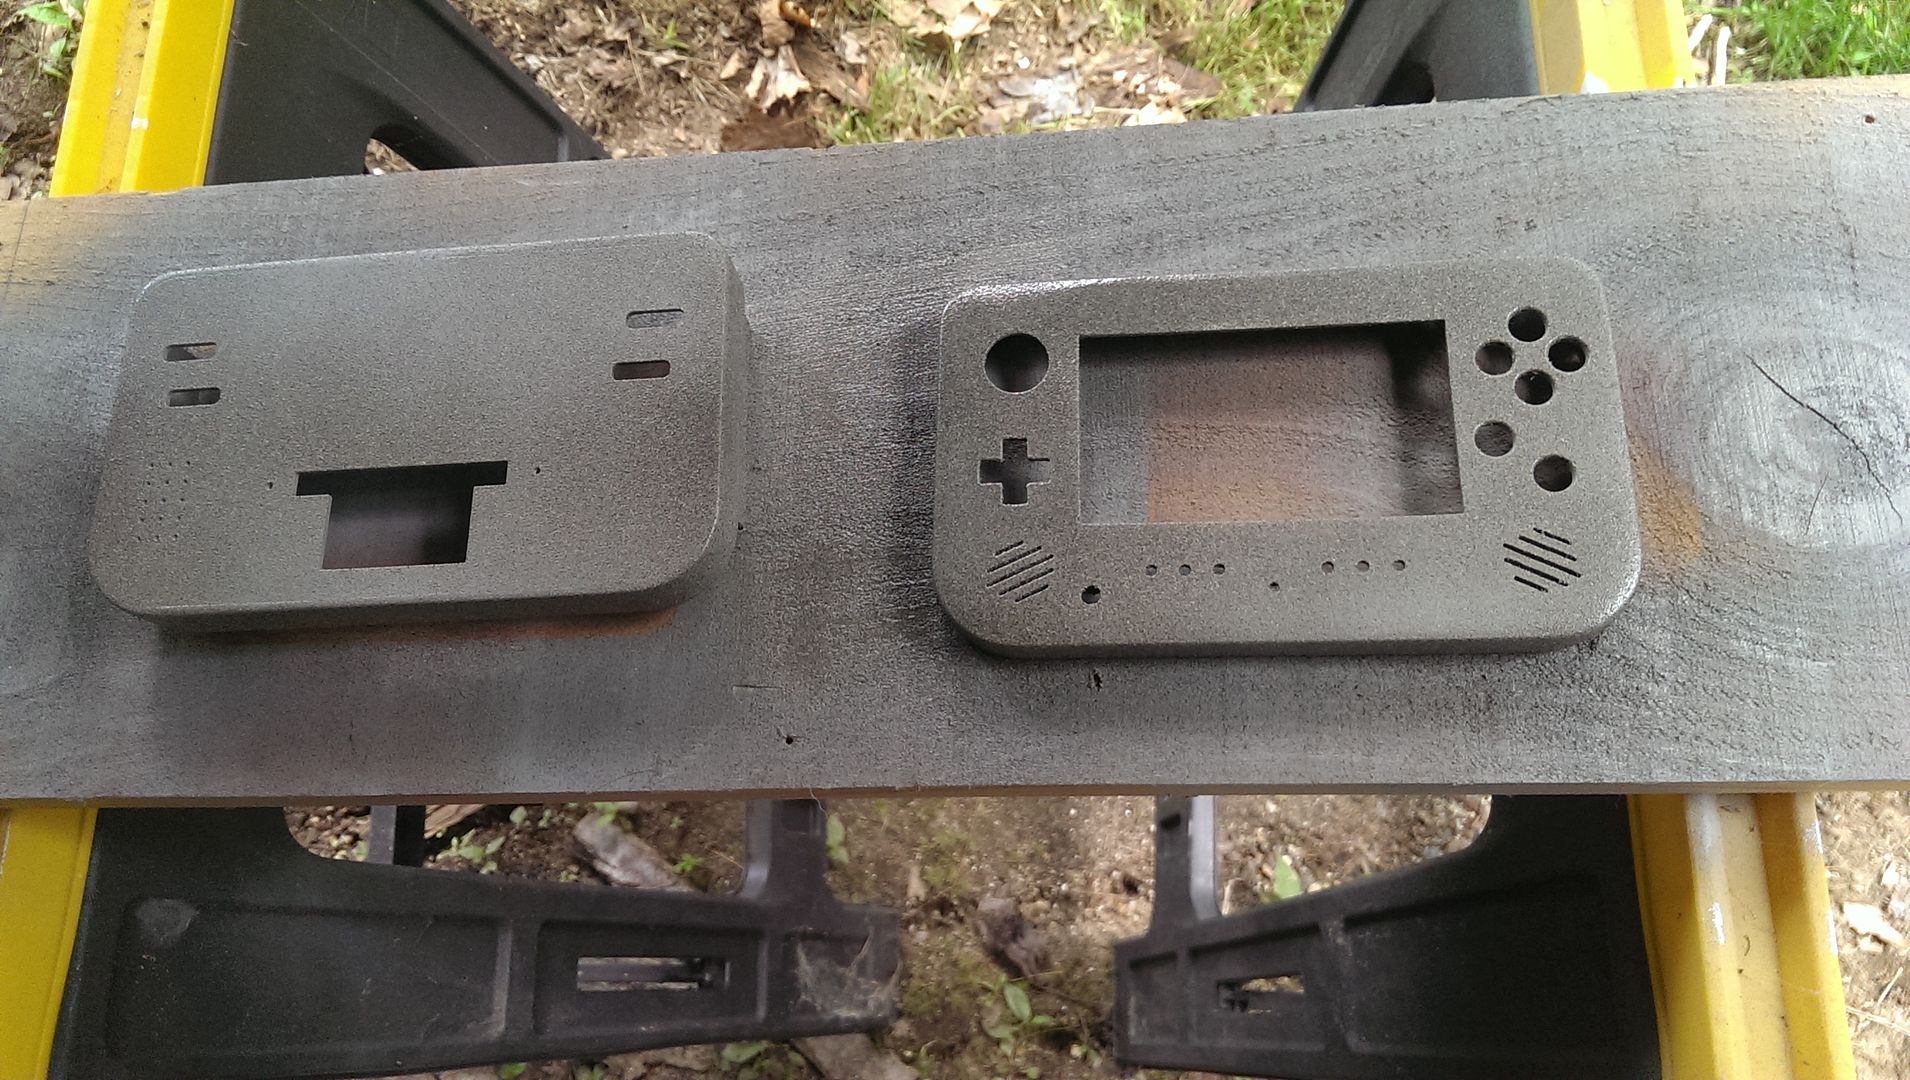
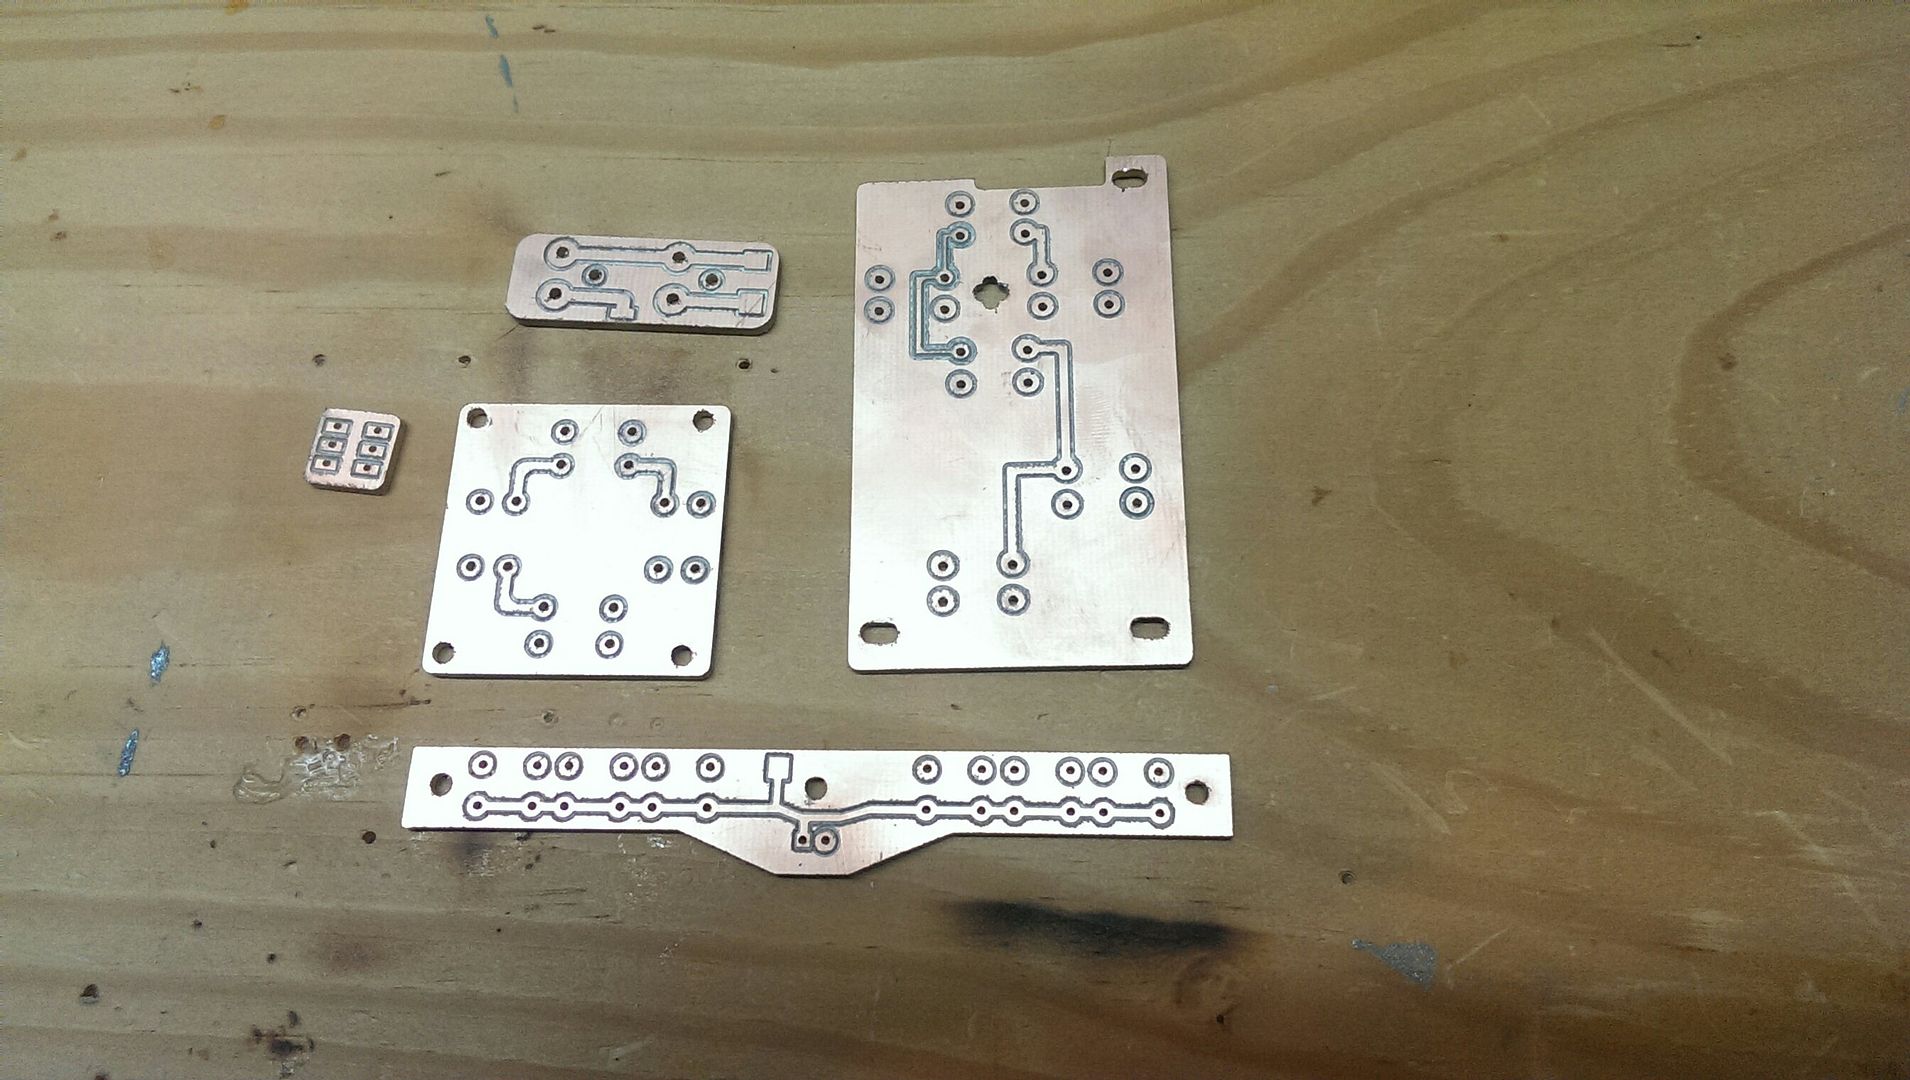
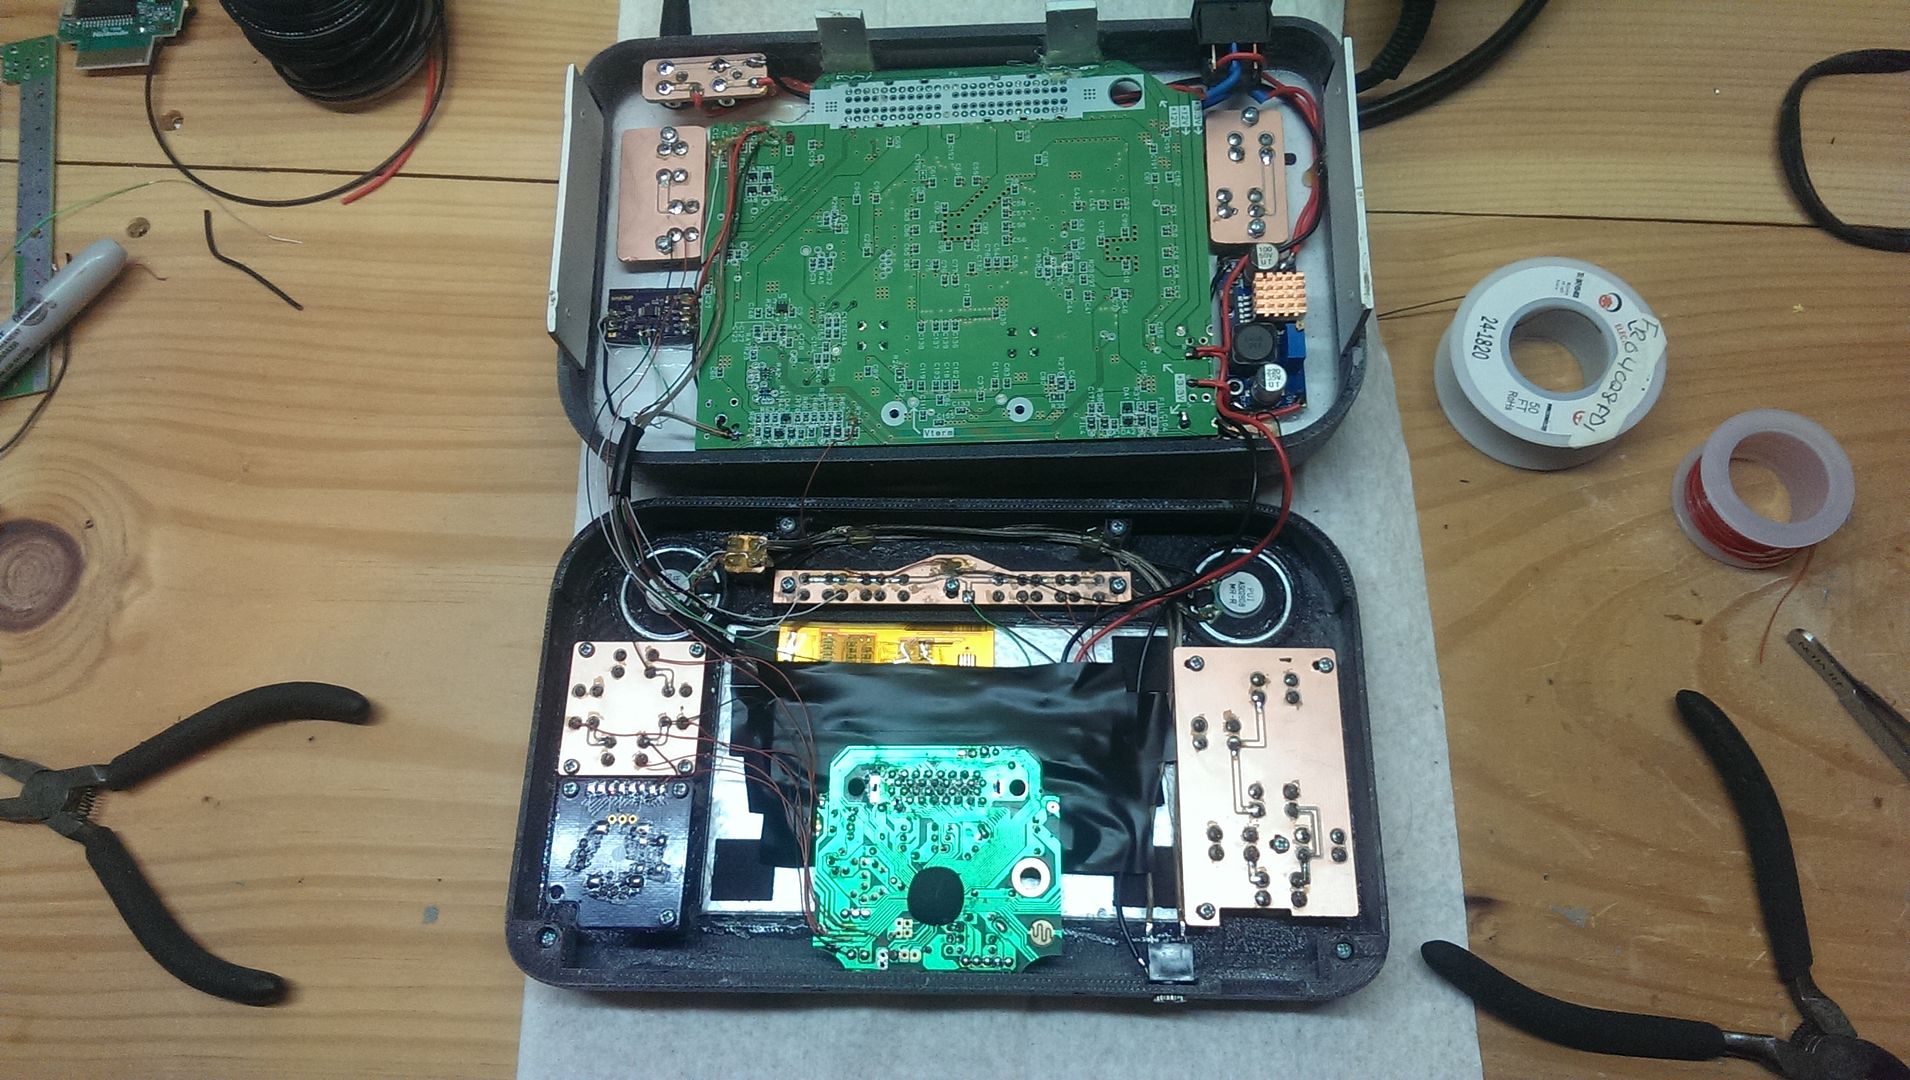
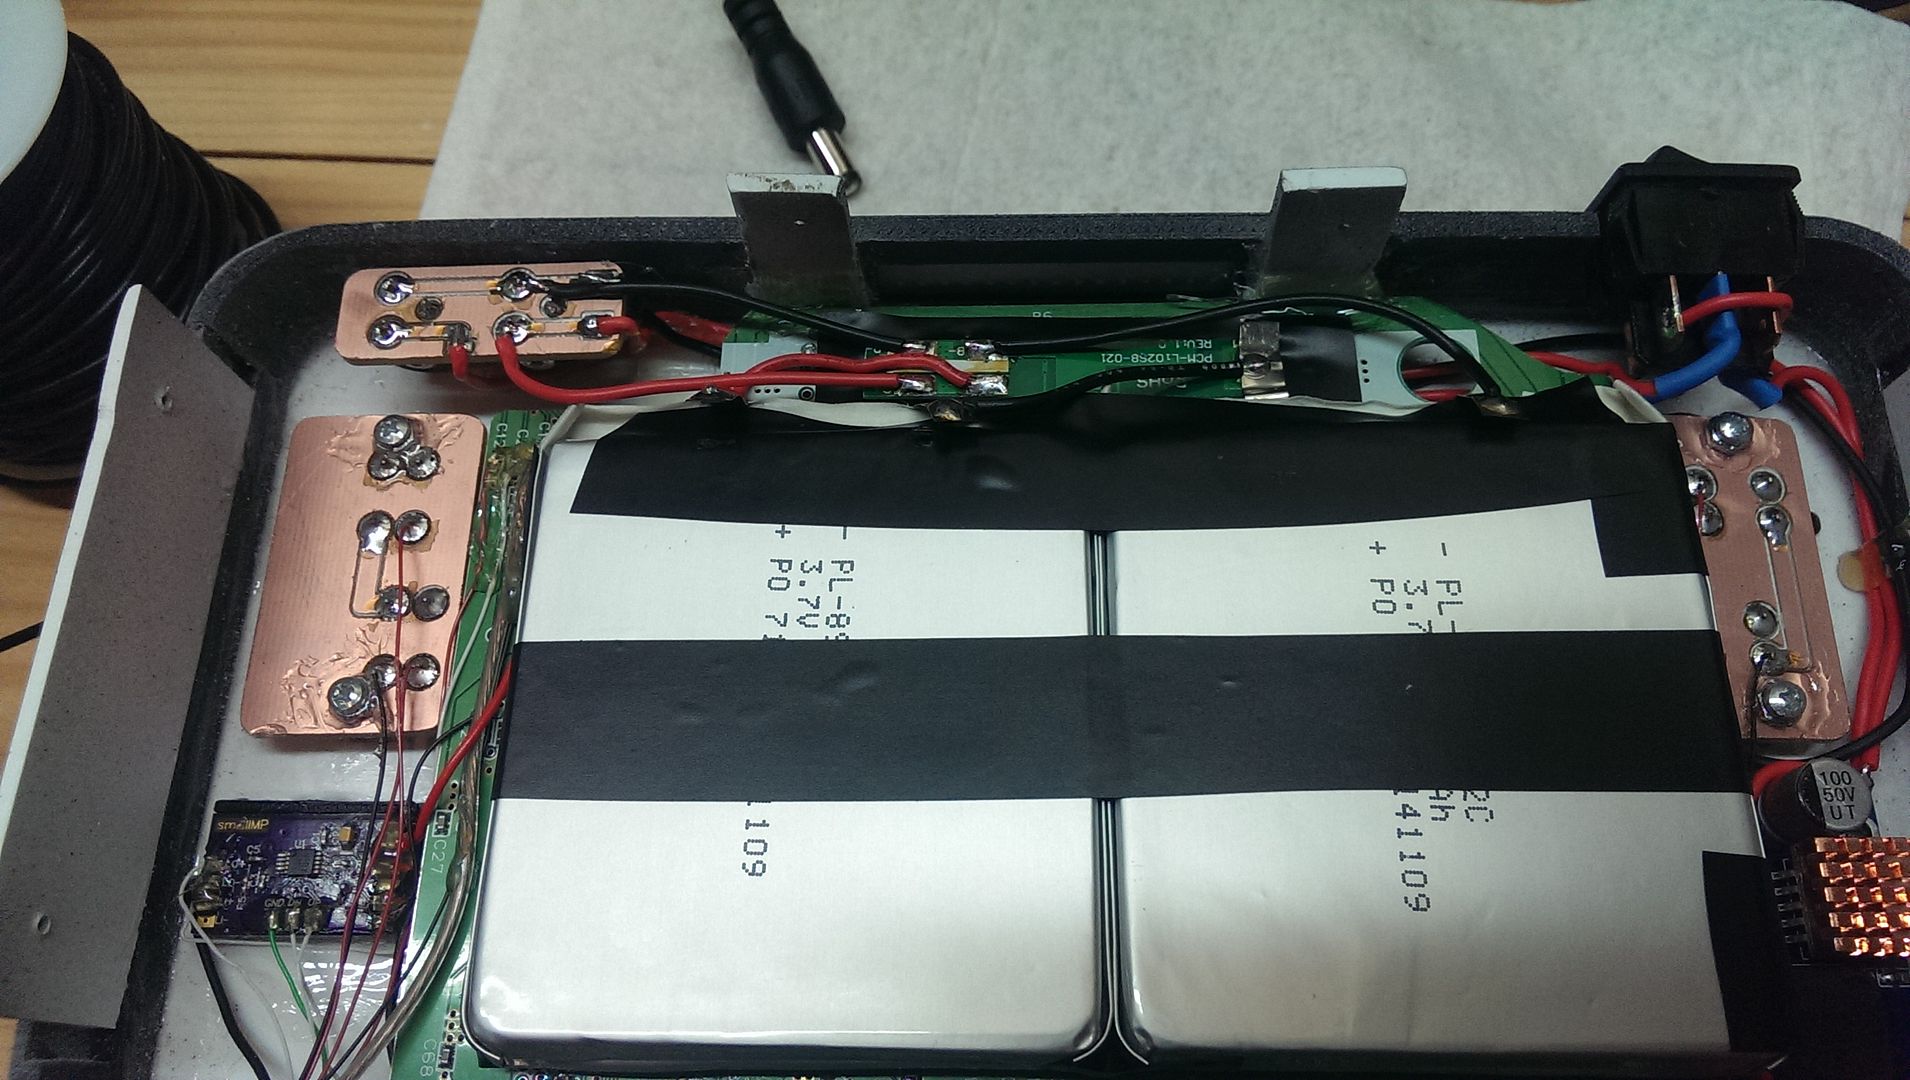
Over two years ago, this started as a brand new portable Nintendo 64 design for my first new commission which had been almost 4 years prior to that! And when I say new, I mean a complete redo from the ground up with all new modern components, circuitry and case design.
Working with GMAN from 4 Layer Tech on creating a new integrated motherboard for the system that used existing 4 Layer Tech modules like the PMS Lite and UAMP for power management and audio, I started to get the warm and fuzzies about the idea that has eluded me for so many years…and that of course, was realizing every consoles modders dream that a “hand-holding” Kit for making a Portable Nintendo 64 was here!
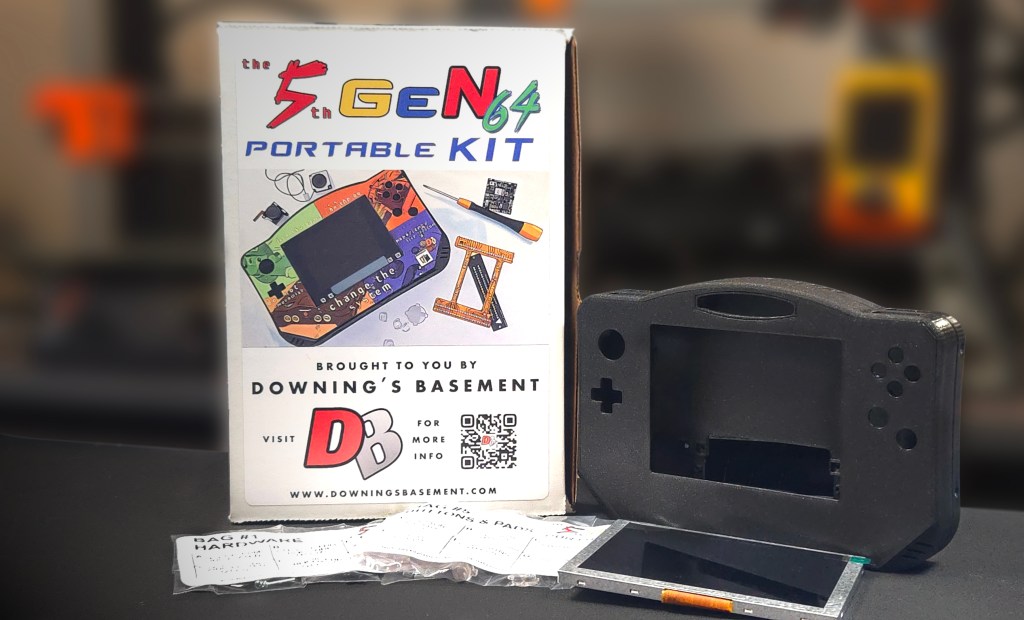
More information about the kit itself as well as status updates are all going to be on the dedicated page in the header or you can just click the image above.
But the main goal is to have a Kickstarter live for the first week of May, 2025 and see where it goes from there!
So that’s the big news! There was much more to MGC this year though that I hope to be compiling in a new video as well as uploading the FULL Bonus Stage video of the kit reveal. So keep an eye out for that!
Other announcements, I will again be attending the Retro World Expo in Hartford, CT on September 12th through the 14th, but this time as a guest of the show! Not only will I have a showcase booth for Downing’s Basement, but I will also be joined by the one and only GMAN from 4 Layer Tech and Crazy Gadget of Bit Built!
This will be my first time showcasing at this event as well as BitBuilt’s but after roaming the floor for a couple of days last year, I think we’re going to fit in nicely!
I’ll have more info about this as it get’s a bit closer, but this is a good event for all my East Coast New England friends!